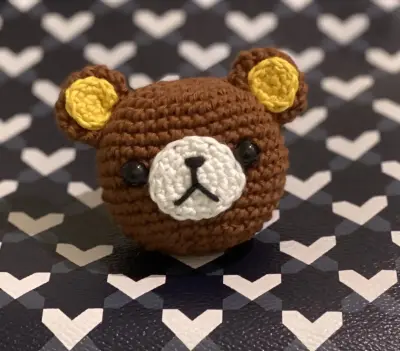
Rilakkuma Head
Difficulty Level
Rilakkuma is the best companion to remind you it's okay to take time off sometimes. This pattern will teach you about how to make your own small Rilakkuma, add keychain to it and voila, you could bring it everywhere with you. Rilakkuma is a fictional character created by San-X.
(mr)
Magic ring
(sc)
Single crochet
(inc)
Increase
(dec)
Decrease
(sl st)
Slip Stitch
(ch)
Chain
Crochet hook 2.5mm
2 safety eyes diameter 8mm
Cotton yarn 2.5mm, color: yellow, brown, black & white
Stuffing materials
Instructions
Make 2 outer ear parts.
2.5mm hook
Brown
Cotton 2.5mm
Row | Instruction | Total |
|---|---|---|
1. | 6 sc into a magic ring | (6) |
2. | inc * 6 | (12) |
3. | (inc, sc) * 6 | (18) |
4. | 18 sc | (18) |
5. | (sc, dec) * 6 | (12) |
Finish with a sl st, bind off and cut a long yarn tail for sewing later. | ||
Make 2 inner ear parts.
2.5mm hook
Yellow
Cotton 2.5mm
Row | Instruction | Total |
|---|---|---|
1. | 6 sc into a magic ring | (6) |
2. | inc * 6 | (12) |
Finish with a sl st, bind off and cut with enough yarn tail for sewing later. | ||
2.5mm hook
White
Cotton 2.5mm
Row | Instruction | Total |
|---|---|---|
1. | 6 sc into a magic ring | (6) |
2. | inc, sc, make 3 sc in a stitch, sc, inc, make 3 sc in a stitch | (12) |
3. | inc, 10 sc, inc | (14) |
4. | 14 sc | (14) |
Finish with a sl st, bind off and cut with enough yarn tail for sewing later. | ||
2.5mm hook
Brown
Cotton 2.5mm
Row | Instruction | Total |
|---|---|---|
1. | 7 sc into a magic ring | (7) |
2. | inc * 7 | (14) |
3. | (sc, inc) * 7 | (21) |
4. | (2 sc, inc) * 7 | (28) |
5. | (3 sc, inc) * 7 | (35) |
6. | (4 sc, inc) * 7 | (42) |
7-12. | 42 sc | (42) |
13. | (4 sc, dec) * 7 | (35) |
14. | (3 sc, dec) * 7 | (28) |
15-16. | 28 sc | (28) |
17. | (2 sc, dec) * 7 | (21) |
18. | 21 sc | (21) |
You can start stuffing & place the safety eyes around Round 9 with distance between around 6 stitches. | ||
19. | (sc, dec) * 7 | (14) |
20. | dec * 7 | (7) |
Finish with a sl st, bind off to close the circle and leave enough tail for sewing later. | ||
Use black yarn color and sew the nose & mouth to mouth part from Step 3, sew the mouth in between eyes.
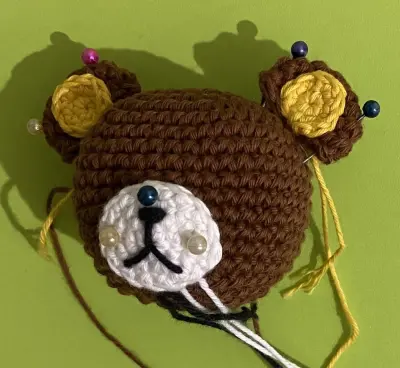
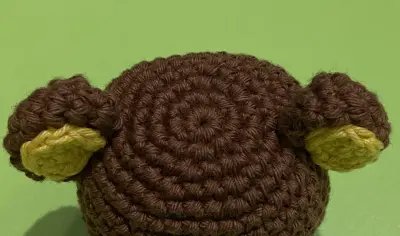
Sew inner ear part to outer ear part, then sew the ear to head around Round 3-4.
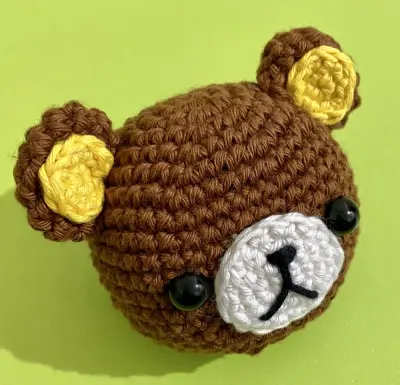
Voila it's done!
This pattern is for personal use only, you are not allowed to sell / share / duplicate this pattern instructions in any medium. But you can sell any amigurumi dolls created from this pattern with credits from pawlarius.crafts.
Last updated at 2022-08-30T16:51:09.434Z